



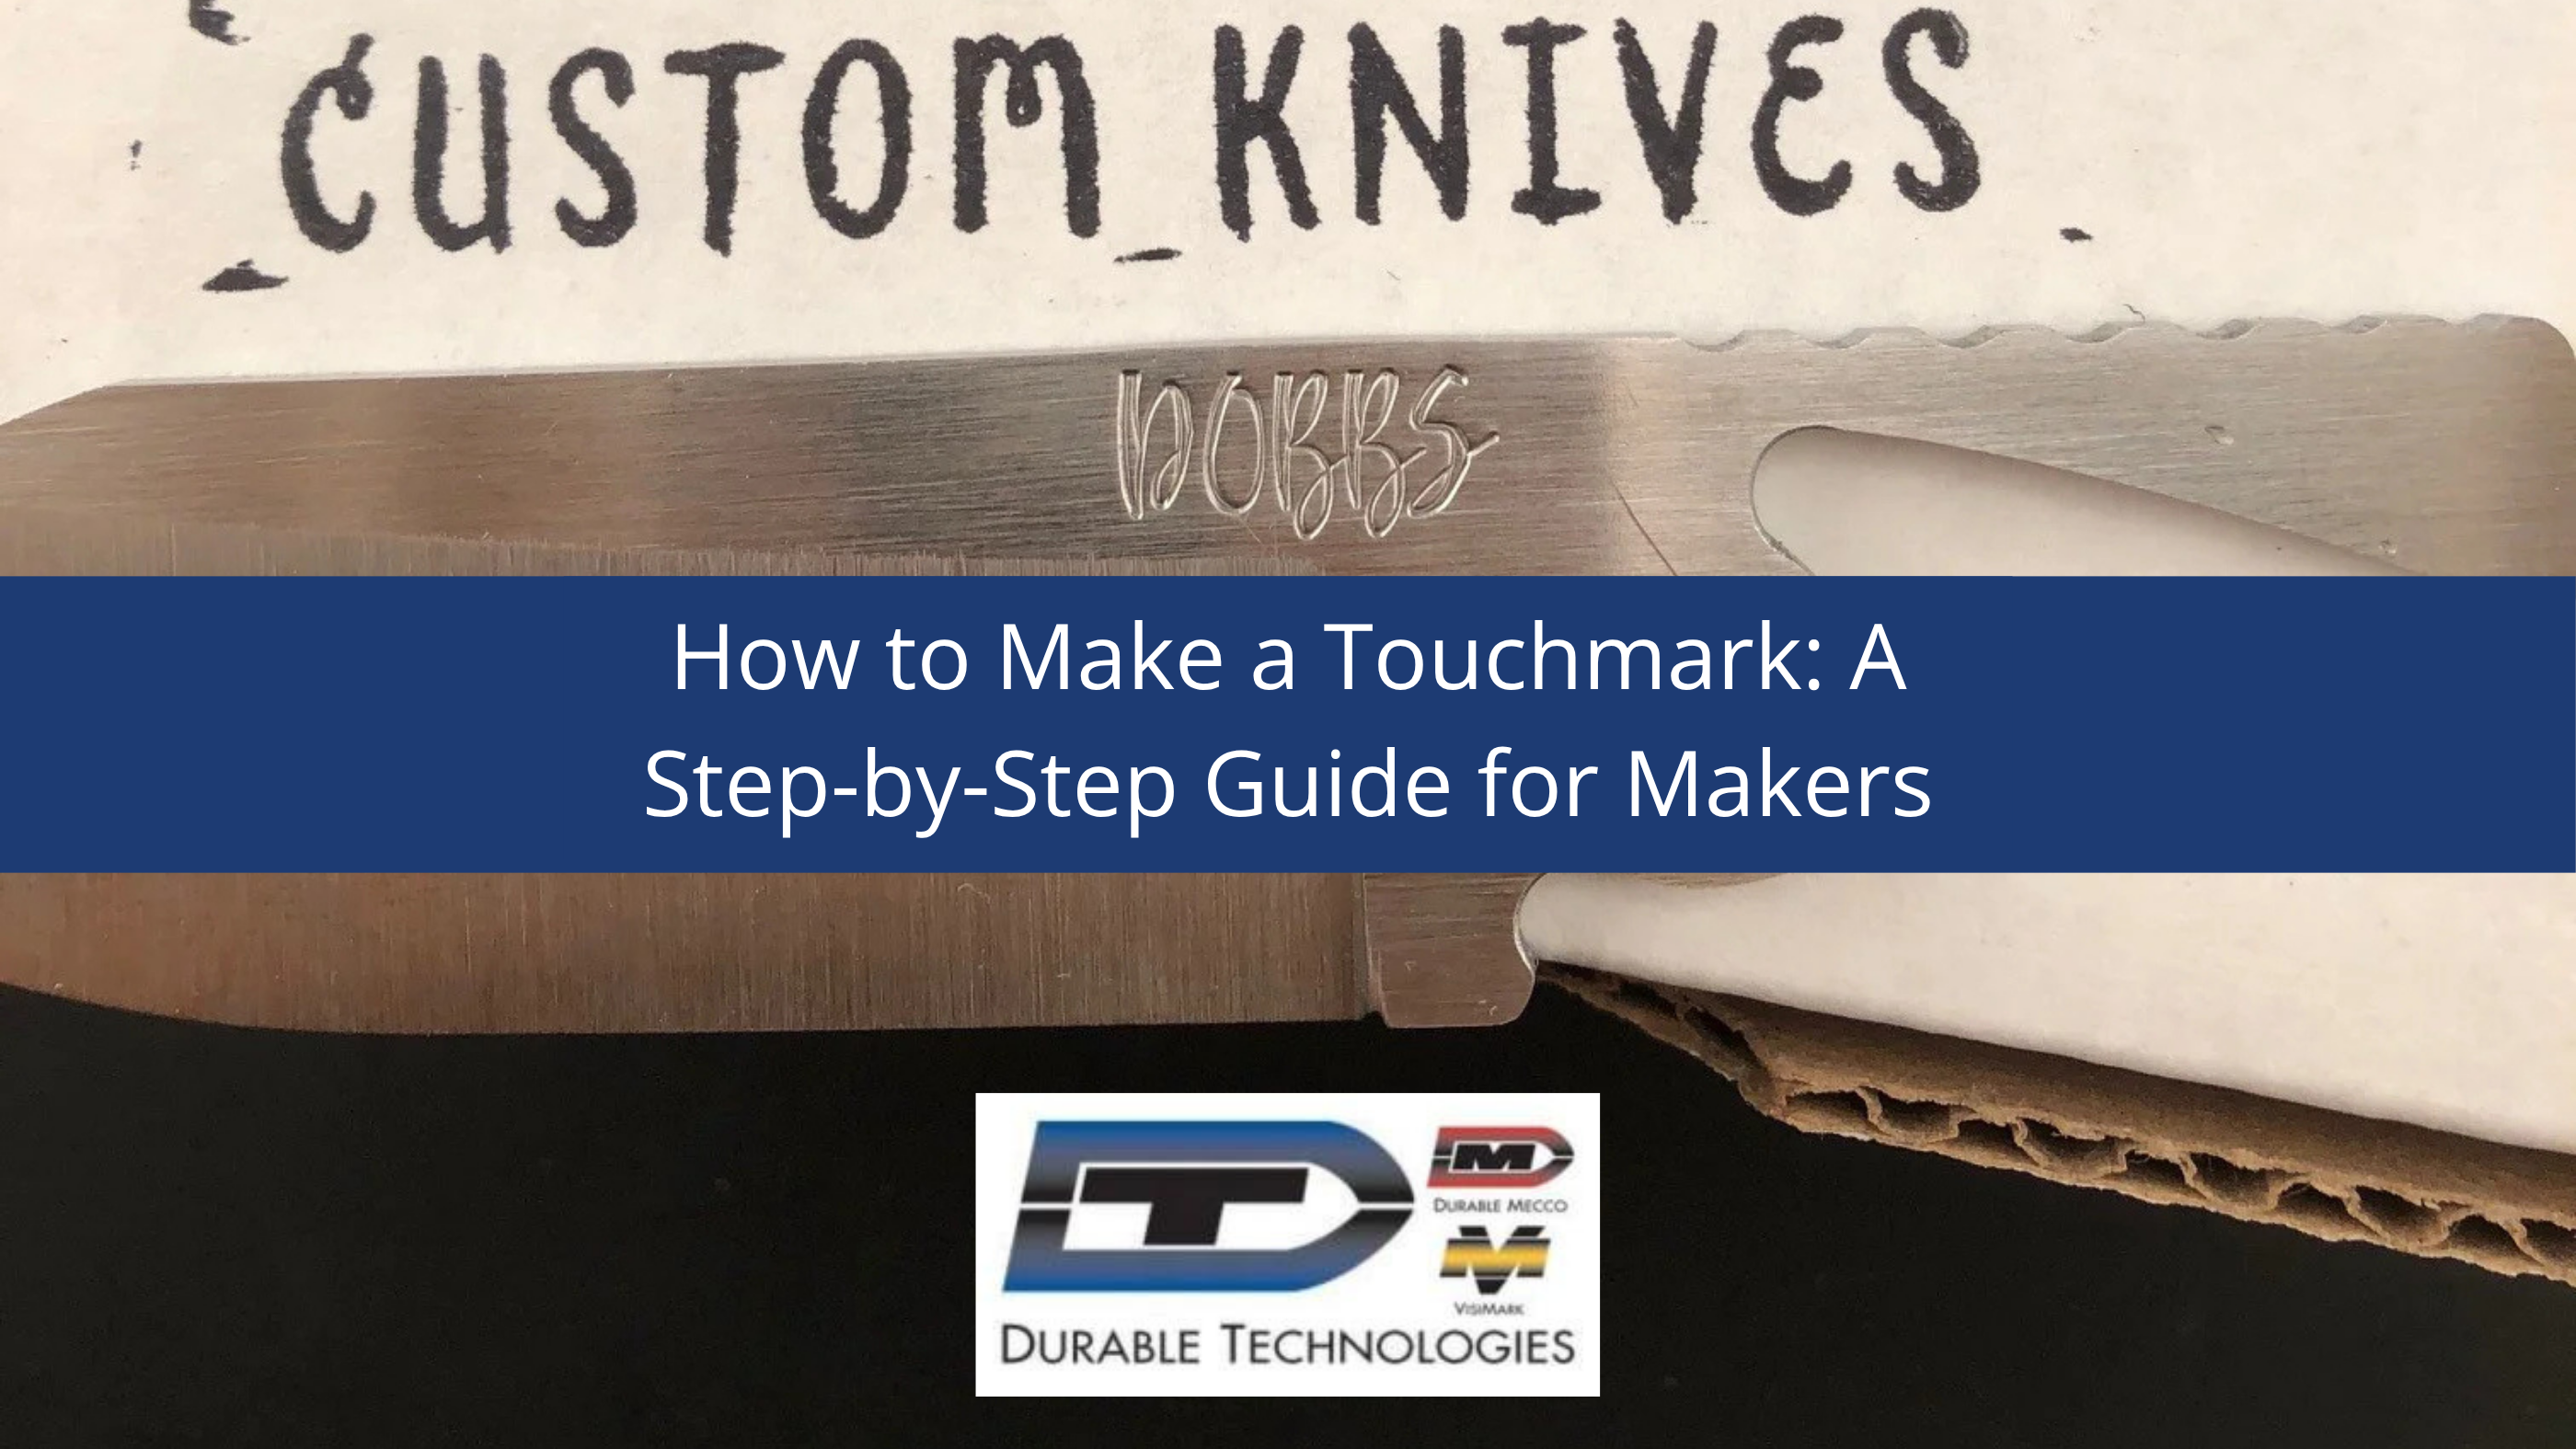
A touchmark is the mark that signs your work and adding it is often one of the last steps in the creation process, so it must be done right. Steel stamps are an ideal tool for making a touchmark because they are long-lasting, cost-effective, and easy to customize. Over the years we have helped many artisans and craftspeople create their unique mark. This guide walks through planning your design, choosing the right tools, marking different metals, striking a clean impression, fixing common problems, and keeping your stamps in good condition.
Table of Contents
- What is a touchmark, and why does it matter?
- How do you design and plan a touchmark?
- What tools do you need to make a touchmark?
- How do you mark different metals?
- How do you make a touchmark step by step?
- How do you fix common touchmark problems?
- When should you use hot stamping or a press instead?
- How do you keep touchmark stamps safe and in good shape?
- Which makers use custom touchmark stamps?
- Where can you get help with your touchmark?
What is a touchmark, and why does it matter?
A touchmark is a maker's mark stamped into a finished piece to identify who created it. It works like a signature, proving provenance and setting one maker's work apart from anyone else's. Because it is usually applied at the very end of the build, a poorly struck touchmark can flaw an otherwise finished piece, which is why the technique matters as much as the tool.
The mark also carries some personality. A simple set of initials, a logo, or a small design tells a buyer who stands behind the blade, hook, or bracket in their hands. Most makers reach for a steel stamp or die to create it because those tools are durable, affordable, and can be cut with nearly any design you can draw. That combination is what lets a touchmark be both a practical identifier and an aesthetic choice.
How do you design and plan a touchmark?
Plan your touchmark before you order a stamp or pick up a hammer. A few minutes spent on the design prevents costly mistakes and keeps the mark legible and professional for years. The two decisions that matter most are keeping the artwork simple and sizing the stamp to the work you make most often.
Keep the design simple.
Complex designs rarely translate well to small stamps. Thin lines disappear, intricate details blur together, and busy artwork becomes unreadable once it's stamped. A touchmark should be recognizable at a glance, even when stamped as small as one-eighth inch.
Match the size to your work.
The size of your touchmark should match the items you create most often. Knife makers typically use 1/4" to 3/8" tall logos (sometimes referred to as their makers mark), while blacksmiths working on larger pieces might go up to 1/2" or 5/8". Smaller stamps demand more precision in striking, and larger stamps need significantly more force. If you work across a range of piece sizes, order multiple stamp sizes rather than forcing one size to do every job.
Avoid the common design mistakes.
Beginners often set letters too close together, which causes characters to blend when stamped into softer materials, so leave adequate spacing between elements. Serif fonts look attractive but cause trouble at small sizes, where the thin serifs may not stamp clearly. Sans-serif fonts usually give cleaner, more reliable results for touchmarks.
What tools do you need to make a touchmark?
Making a touchmark takes three things: a steel hand stamp or die, a hammer or press, and a solid work surface. The quality of each one shows up directly in the mark.
If you're using a hand stamp and hammer, don't overlook the quality of your materials. Look for a high-quality steel hand stamp that resists spalling when struck. A hand stamp holder is also worth having, since it protects your hands and keeps the stamp positioned safely.
The surface you stamp on is the part most makers ignore. Choose a solid, stable surface like a workbench, and position your mark directly over a support or leg. That support prevents the bench from bouncing or flexing, either of which can ruin the clarity of the mark. Better still, set a large, flat piece of soft steel on the bench and lay your piece on top of that rather than stamping against the bench itself.
Hammer selection matters as much as the stamp. Marking a single 1/4" tall character into mild steel takes roughly 2.1 tons of pressure, which points to our O.E. hammer with a 1 lb. weight for that job. Experienced operators can often drop to a lighter 3/4 lb. hammer for the same mark. If you are not sure which hammer fits your touchmark, Durable can give you a recommendation based on your character / logo size and material being stamped.
How do you mark different metals?
Different metals need different approaches to produce a clean, consistent touchmark. Matching your force and technique to the material prevents damaged stamps and gives professional results whether you're marking steel, stainless, or aluminum.
Mild steel and carbon steel
These materials stamp relatively easily and provide excellent contrast. Standard sharp-face stamps with moderate hammer force are all you need. The metal deforms predictably, creating crisp impressions with well-defined edges. Most craftspeople start here because it is forgiving and responds well to a range of hammer weights.
Stainless steel
Stainless steel's work-hardening behavior makes it more demanding to stamp. You will need a heavier hammer than you'd use for mild steel, and the first strike must be decisive. Marking a single 1/4" tall character into mild steel takes roughly 3 tons of pressure, which points to our 1.5# O.E. hammer.
Aluminum
Aluminum stamps beautifully but rewards a lighter touch. It is soft enough that too much force sinks the stamp deeply and pushes up raised edges around the mark, and those areas are hard to file down without touching the touchmark itself. Start with lighter blows and build force gradually until you reach the depth you want. Marking a single 1/4" tall character into aluminum takes roughly 1.3 tons of pressure, which points to our 3/4 lb. OE hammer.
How do you make a touchmark step by step?
Set the piece on your steel base, place the hand stamp on the part, and rock it gently back and forth to confirm that it is sitting perfectly flat. Then strike the stamp once, firmly, with the hammer. A flat stamp and a single clean blow are what separate a sharp touchmark from a smeared one.
Practice on scrap material before you mark a finished part. The most common error is letting the hammer strike the stamp more than once, which leaves a double or triple impression. Pull the hammer away immediately after impact to reduce the chance of a double hit.
Speed and accuracy decide the result. You want consistent depth across the whole mark and a clear impression on the piece, and that comes from a controlled, accurate strike rather than raw power. If you are marking multiple characters with steel type and a handheld type holder, the force needed to make a clear mark climbs sharply, so practicing until you have the feel for it is time well spent.
How do you fix common touchmark problems?
Even experienced makers run into touchmark problems, and most trace back to four causes: the copy is too large, not enough force (your hammer isn't big enough), a stamp that isn't laying completely flat, a bouncing hammer, or a damaged / tool. Knowing how to read the symptom saves time, material, and frustration.
Faint or incomplete impressions.
When a mark comes out faint or doesn't stamp completely, you're usually not hitting hard enough, or the stamp isn't sitting perfectly flat. Check that your work surface is solid and that you're striking directly over a bench leg or support. Curved or uneven surfaces need more careful alignment and sometimes a custom fixture to hold the work steady.
Double or multiple impressions.
This one usually happens when the hammer bounces off the stamp and strikes a second time. Practice on scrap, focusing on pulling the hammer away the instant it lands. A slightly heavier hammer reduces the tendency to bounce. If double strikes keep appearing, inspect the hammer face for damage or wear that could be causing erratic rebound.
Stamp chipping or damage.
Tiny chips on the stamp face show up as light spots in every mark after them. Chipping typically comes from striking against a hardened surface or using a hammer with a damaged face. Always keep a proper steel base under your work and never stamp directly on a hardened anvil face. Replace a chipped stamp right away, since continued use only worsens the problem and can mar your finished pieces.
Uneven depth across the mark.
When part of the touchmark reads deeper than the rest, the stamp wasn't perfectly flat against the surface. This shows up most on curved pieces or work that isn't properly supported. Take the extra second to confirm full contact before striking. For curved surfaces, a custom stamp ground with a matching curve solves the problem outright.
When should you use hot stamping or a press instead?
Hand stamping covers most touchmark work, but hot stamping and press marking each fit situations where a hammer falls short. Hot stamping suits materials that hammer blows would damage, and a press suits repeatable production runs.
Hot stamping for wood, leather, and plastics
Hot stamping with branding irons works exceptionally well on wood handles, leather sheaths, and some plastics. The process is gentler than impact stamping and marks materials that a hammer would crack or split. For wooden handles or leather goods, hot stamping gives clean, professional results without the risk of damage.
Presses for production work
Makers who mark dozens of pieces regularly should look at a small marking press. A press delivers consistent pressure and removes the variables that come with hand hammer technique. That consistency pays off most when you're marking multiple identical pieces or working with materials that need precise, repeatable force.
How do you keep touchmark stamps safe and in good shape?
Good safety habits and simple maintenance keep your results consistent and your workshop safe. The essentials are eye protection at every strike, regular inspection of your stamps, and storage that keeps tool faces from touching.
Work safely at the bench
Wear safety glasses whenever you stamp, no matter the material, because flying metal particles are rare but can cause serious eye injury. Keep your non-striking hand well clear of the stamping area and never steady a stamp with your fingers. Stamp holders exist for exactly this reason. Make sure the work area is well lit so you can see the mark clearly before you strike.
Inspect stamps for wear
Before each use, check your stamps for chips, cracks, or mushrooming on the striking end. Small chips on the face of the stamp show up as light spots in your touchmarks. Excessive mushrooming on the striking end means the stamp has been hit too hard or with the wrong hammer, and the expanded metal is a hazard because fragments can eventually break off.
Store and maintain your tools
Store stamps in individual protective sleeves or blocks so the engraved faces never strike each other, since even a small nick from tool-on-tool contact shows in the mark. Hang hammers or keep them in dedicated holders where the faces won't make contact with other tools, because a damaged hammer face flaws every mark you make. Clean stamp faces periodically to clear any metal buildup that causes incomplete impressions and keep a light coat of oil on stored stamps to prevent rust, wiping it off before use so it doesn't interfere with marking. Replace worn tools before they degrade your work rather than waiting to discover the problem on a finished piece.
Which makers use custom touchmark stamps?
Knife makers, bladesmiths, and blacksmiths are the most common users of custom touchmark stamps, marking everything from handmade blades to forged hardware. We have built touchmarks ranging from simple initials to full logos and custom designs.
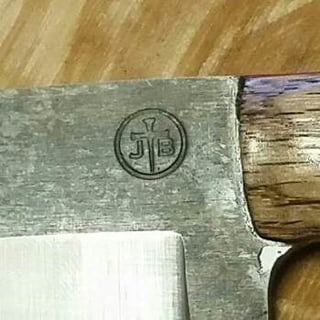
A few of those projects show what's possible when a maker's mark is created to order:
- Rustick Knives Uses Durable Steel Stamps to Stamp Handmade Knives
- Stamps for Knives at Heartwood Forge
- Custom Steel Stamping Dies to Mark Cutlery
- Custom Makers Mark Stamps for Knives
Where can you get help with your touchmark?
If you have questions about using a hand stamp or press to make a touchmark, or want to learn more about our steel type, holders, hammers, or presses, please contact us to discuss your project.